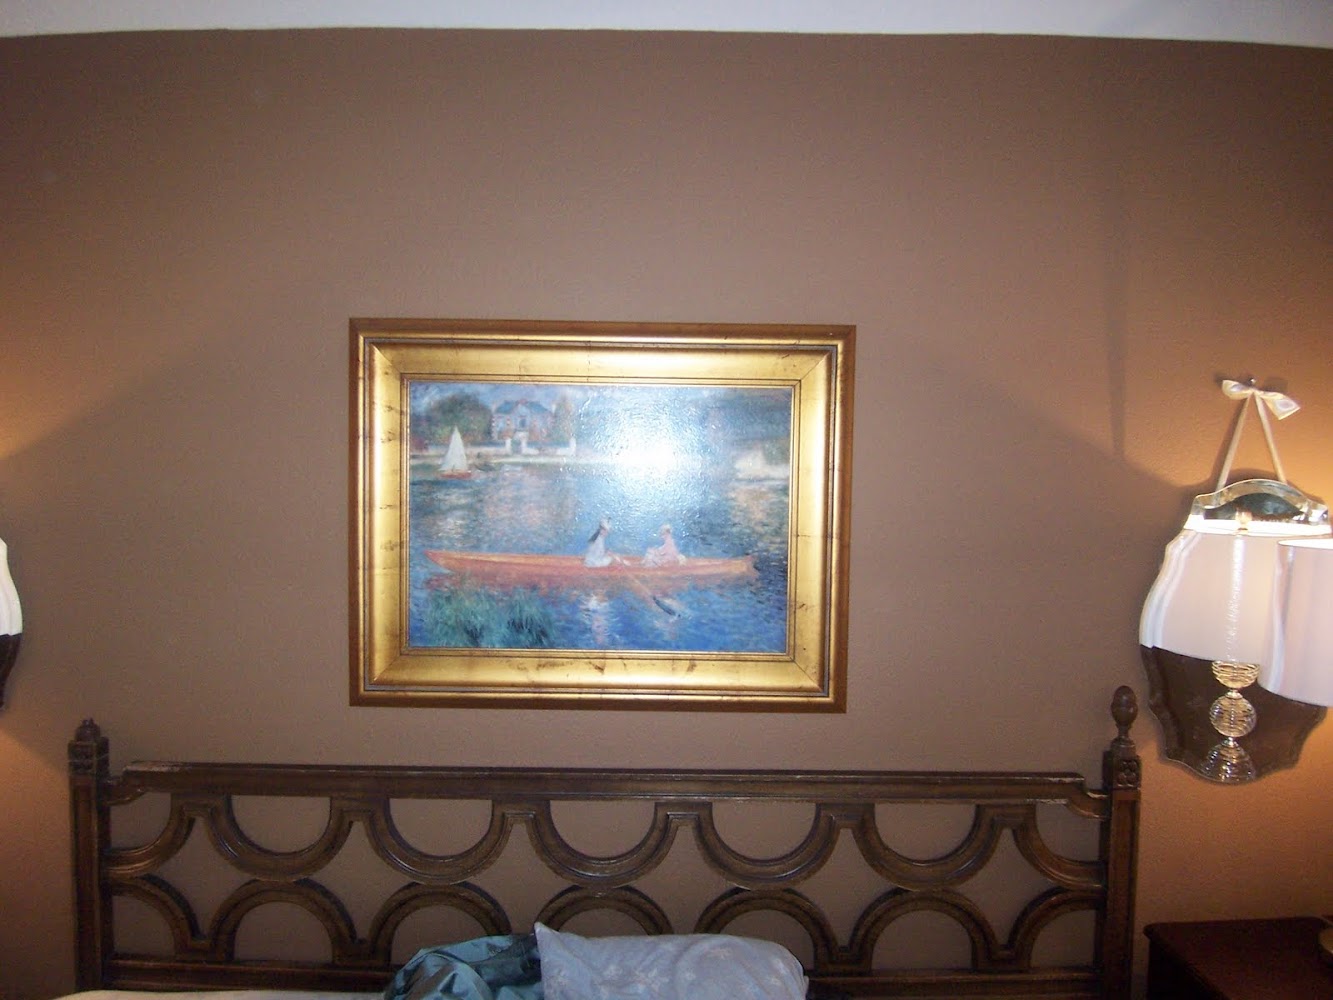
While at a garage sale last year- I came across this solid wood-shabby-tattered headboard. I asked how much and she said FREE! I like FREE! I tossed it in my car and headed home thinking I could transform this into something pretty. I finally decided to keep it as a headboard-but glam it up!
Here is what I started with- (it aint pretty!!)

AND here it is AFTER:

I know, I know! can you believe it! My in-laws were in town last week and I enlisted their help. Two things I learned about this little project 1- you CAN NOT do this by yourself- especially the tufting part and 2- silk fabric is not the BEST (there is lots of puckering)
So here is the breakdown- I tried taking pictures along the way. If you want a really good step by step tutorial head over to Kate at Centsational Girl. She is MUCH better at giving you the step by step and plus her pictures are way better!
We attached a piece of inexpensive wood that was several inches higher than the top of the headboard- (I wanted to add height for more drama)

We then had to frame out the top of the wood so that when we pulled the fabric around it wouldn't look funny.

Then we drilled the holes where we wanted the buttons to go. The only advise I have for you here is get someone with math skilz to figure that part out cuz I COULD NOT get it- my father-in-law did it in like 10 seconds flat!
We then added the foam, stapled the batting on, then added the fabric. Stapling like crazy. Another NOTE: get ye an electric stapler-they are WORTH it!


Here it is before the tufting:

Next was making the covered buttons, I think we had 22 in all.


Here's the finished front

And the back (we used finishing nails to hold the thread so it would not pull back through (again see Kate's tutorial) then we duct taped it for extra hold. If I was ultra anal (and Im sooo not) I would have finished off the back with a muslin or cotton to hide all the nails & stuff.

Here is it back in the room. I just LOVE it- it feels like something out of a boutique hotel:


Participating in Kimbas DIY Day